Restoring old photos in Photoshop, step by step
Restore old photos in Photoshop: layers, dust, scratches, tears, faded color, the neural filters and a face check, plus when an AI pass is faster.
See how far one pass gets
Free during early access · 2 restorations a day
Choose a photoUsed only to restore your photo. How we handle your photo
To restore old photos in Photoshop, scan the print large, work on layers so nothing is permanent, and repair the damage in a fixed order: crop and straighten, dust and scratches, tears, then tone and color. A lightly marked print takes under an hour and a cracked, stained one takes an afternoon. Photoshop’s AI tools can shorten the job and can also change a face, so this guide shows where they fit, how to check their work, and when a one-pass AI tool is the better choice.
Used only to restore your photo. How we handle your photo
How to restore old photos in Photoshop, step by step
Scan large and keep an untouched master
Scan at 600 dpi or higher and save the file exactly as it came off the scanner. That file is never edited; everything below happens on a copy. Switch off the scanner’s own dust and scratch removal, which can blur anything that looks like a defect, including fine detail near a scratch.
Set up layers so every repair can be undone
Press Ctrl/Cmd+J to duplicate the background and lock the original. Add an empty layer for each kind of repair: spots, scratches, tears. Set the Healing Brush and Clone Stamp to Sample: Current & Below, and tick Sample All Layers on the Spot Healing Brush. Each tool then reads the picture underneath but paints only onto the empty layer, which you can fade, mask or delete.
Crop and straighten
Pick the Crop tool and use Straighten: drag a line along an edge or horizon that should be level. Leave Delete Cropped Pixels switched off so the crop stays adjustable. Trim off the border and mount; anything written there is still in your master scan.
Remove dust and small spots
Zoom to 100%. On a new layer, set the Spot Healing Brush to Type: Content-Aware and click each speck with a brush slightly larger than the speck. For a print covered in fine dust, duplicate the layer, choose Filter > Convert for Smart Filters, then Filter > Noise > Dust & Scratches. Set Threshold to 0, raise Radius until the specks vanish, then raise Threshold until grain returns. The filter blurs faces and hair, so select its filter mask, press Ctrl/Cmd+I to turn it black, and paint white only over dusty areas.
Repair scratches and cracks
For a straight scratch, click one end with the Spot Healing Brush, hold Shift and click the other end. For a crack that bends, use the Healing Brush: Alt/Option-click clean skin or cloth right beside the crack, then paint along it in short strokes. Where the Healing Brush smears, at the edge of a face or where hair meets a dark background, switch to the Clone Stamp at reduced opacity and re-sample often so the patch does not repeat.
Close tears and fill missing corners
If the pieces have shifted, lasso one side, press Ctrl/Cmd+J to lift it onto its own layer, then move and rotate it with Ctrl/Cmd+T until the picture lines up across the tear. Heal the seam on an empty layer. For a missing corner of wall, sky or clothing, select the gap and use Edit > Content-Aware Fill with Output To set to New Layer, or the Patch tool in Content-Aware mode; both borrow pixels from elsewhere in the same picture. If the gap is part of a face, there is nothing to borrow.
Restore faded tone
Add a Levels adjustment layer and drag the black and white input sliders in to the edges of the histogram; this often restores most of a faded print’s contrast. Filter > Camera Raw Filter offers Contrast, Dehaze, Highlights and Shadows in one panel if you prefer sliders. Both rebalance what is left on the print; dye that has faded away cannot be brought back.
Fix color casts
Color dyes fade at different rates, so a faded color photo shifts toward one color instead of simply turning pale. Alt/Option-click Auto in Levels or Curves, choose Find Dark & Light Colors and tick Snap Neutral Midtones, or click the gray-point eyedropper on something that should be neutral, such as a white shirt. Then refine in Curves, one channel at a time.
Match the grain, then save layered
Patched areas are often smoother than the grain around them. Make a merged copy (Ctrl+Alt+Shift+E on Windows, Cmd+Option+Shift+E on a Mac), add light monochromatic noise with Filter > Noise > Add Noise, and mask it in over the repairs only. Sharpen last, if at all. Save a layered PSD or TIFF as your working file and export a JPEG to share.
Check every face against the original
Before you save, compare each face with the original at 100% using the face check further down this page.
Which Photoshop tool fixes which damage
| Damage | Best Photoshop tool | Watch out for |
|---|---|---|
| Dust and small spots | Spot Healing Brush (Content-Aware); Dust & Scratches through a mask for heavy dust | Dust & Scratches over the whole image blurs faces and hair |
| Scratches, cracks and creases | Spot Healing Brush with Shift-click for straight lines; Healing Brush for bent cracks | Smearing at high-contrast edges; use the Clone Stamp there |
| Tears with shifted pieces | Lasso, Ctrl/Cmd+J and Free Transform to realign, then heal the seam | A piece a degree or two off shows in straight lines across the tear |
| Missing corner or edge | Patch tool (Content-Aware), Content-Aware Fill workspace | Works best on plain wall, sky and cloth; a guess for anything with detail |
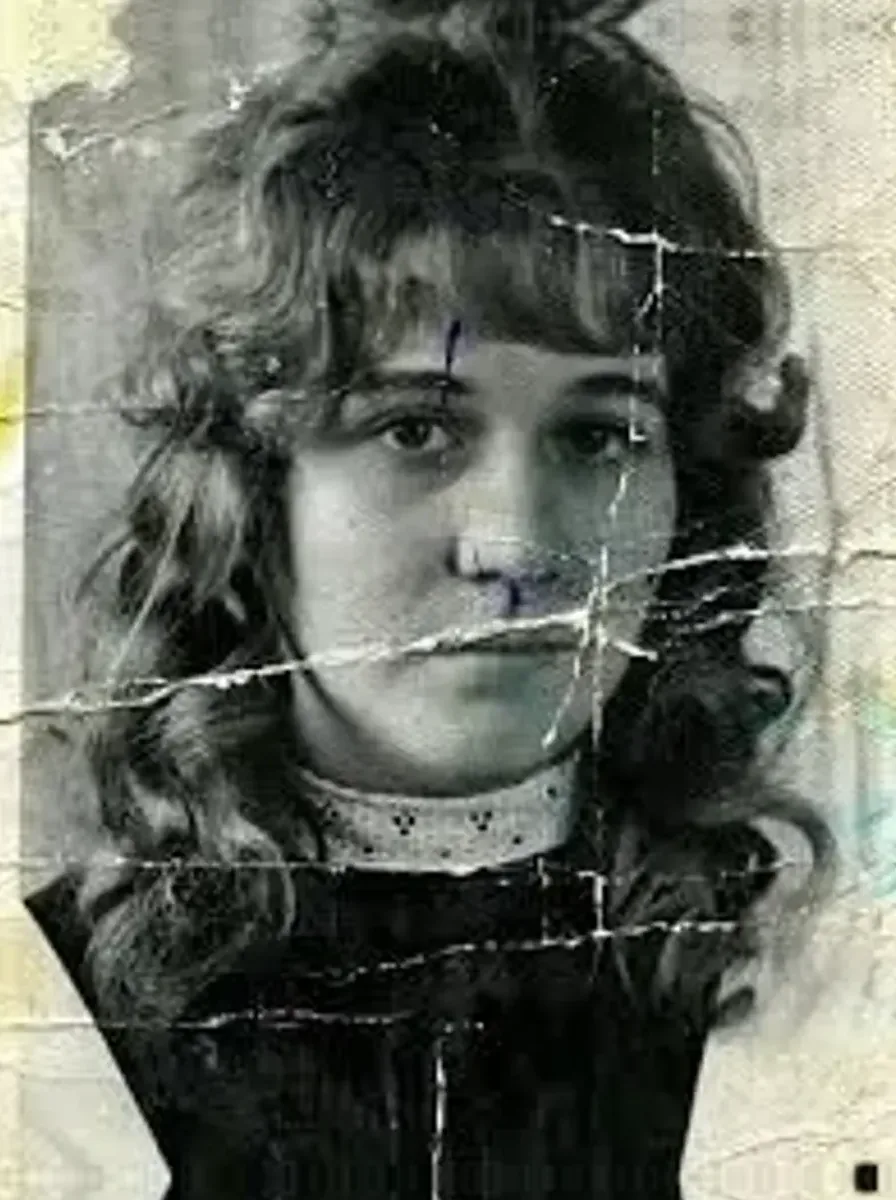
| Missing part of a face | Clone Stamp from the same face, or a mirrored half | No tool recovers it, and Generative Fill can paint a face that is not theirs |
| Fading and flat contrast | Levels, then Curves; Camera Raw Filter | Clipped highlights; dye that is gone stays gone |
| Color cast (red, yellow, magenta) | Curves per channel; gray-point eyedropper; Auto Color Correction Options | Clicking the eyedropper on something that was never neutral |
| Soft focus and grain | Smart Sharpen, Reduce Noise | Sharpening amplifies grain; detail the lens never caught is not in the file |
| Black-and-white to color | Colorize Neural Filter, or a layer in Color blend mode that you paint | The colors are inferred; set color points only for colors you know |
How long does it take to restore a photo in Photoshop?
Light damage takes roughly 15 to 45 minutes, moderate damage one to three hours, and heavy damage several hours up to a full day. These are rough figures from typical experience, not measurements, and a first restoration usually runs longer.
Light means dust, a few hairline scratches and mild fading. Moderate means cracks across the picture, stains, a clean tear or a color cast. Heavy means a missing piece, cracks running through a face, or extensive mold or water damage, and part of that may not be recoverable at all.
Photoshop AI for old photos: Photo Restoration and Generative Fill
Filter > Neural Filters > Photo Restoration runs a machine-learning model over the photo to enhance detail, reduce scratches and clean up noise. Photoshop downloads it the first time you use it, so you need to be online then. Its controls are an enhancement slider, Enhance Face and Scratch Reduction, plus noise, color noise, halftone and JPEG-artifact options under Adjustments.
Because it is an AI model, it can add detail that was never in the scan, and faces are where that shows first. Start with Enhance Face at 0 and raise it slowly while comparing with the original. Scratch Reduction softens fine texture and can mistake a thin real line, such as a wire or a rope, for a crack. Send the output to a new layer, mask it off any face you care about, and finish whatever remains by hand with the healing and clone tools, as Adobe’s own walkthrough does.
Generative Fill, the button in the Contextual Task Bar once you make a selection, needs an internet connection and generates new pixels to match the surroundings. It is fine for a patch of wall or sky. It does not know who is in your photo, so near an eye, cheek or hairline it can paint a plausible face that is not theirs. Content-Aware Fill builds its fill from pixels already in the picture, which makes it the safer choice for backgrounds.
How to colorize an old photo in Photoshop
Filter > Neural Filters > Colorize adds color to a black-and-white or sepia photo automatically. The image has to be in RGB Color mode (Image > Mode > RGB Color); in Grayscale mode the filter stays grayed out. After downloading the filter, adjust the color balance sliders, or pick a color and click an area of the preview to tell it what belongs there.
Send the result to a new layer and set that layer’s blend mode to Color, so the colors apply while your restored tones underneath stay as they are. The colors are inferred: nothing in a black-and-white photo records what a dress or a car actually was. Place color points only where you know the answer, from family memory or a color photo of the same thing.
Check every face before you save
- At 100% zoom, switch your repair and filter layers on and off with the original underneath. The eyes, brows and mouth should not move.
- Flip the canvas (Image > Image Rotation > Flip Canvas Horizontal) and look again. A face that has drifted can show up more clearly in the mirror.
- Check what identifies the person: eye shape and spacing, eyelids, nose width, the corners of the mouth, and marks such as a mole, a scar or a gap between teeth. Cracks removed from a cheek can take a real mole with them.
- Set an AI output layer to the Difference blend mode: black means unchanged, brighter means changed. It tells you where to look; you still judge by eye.
- On a group photo, check every face, not only the main one.
- If another photo of the person exists, hold it next to the result.
- If a face has drifted, lower that layer’s opacity, mask the effect off the face, or redo the area by hand.
Photoshop or a one-pass AI tool: which should you use?
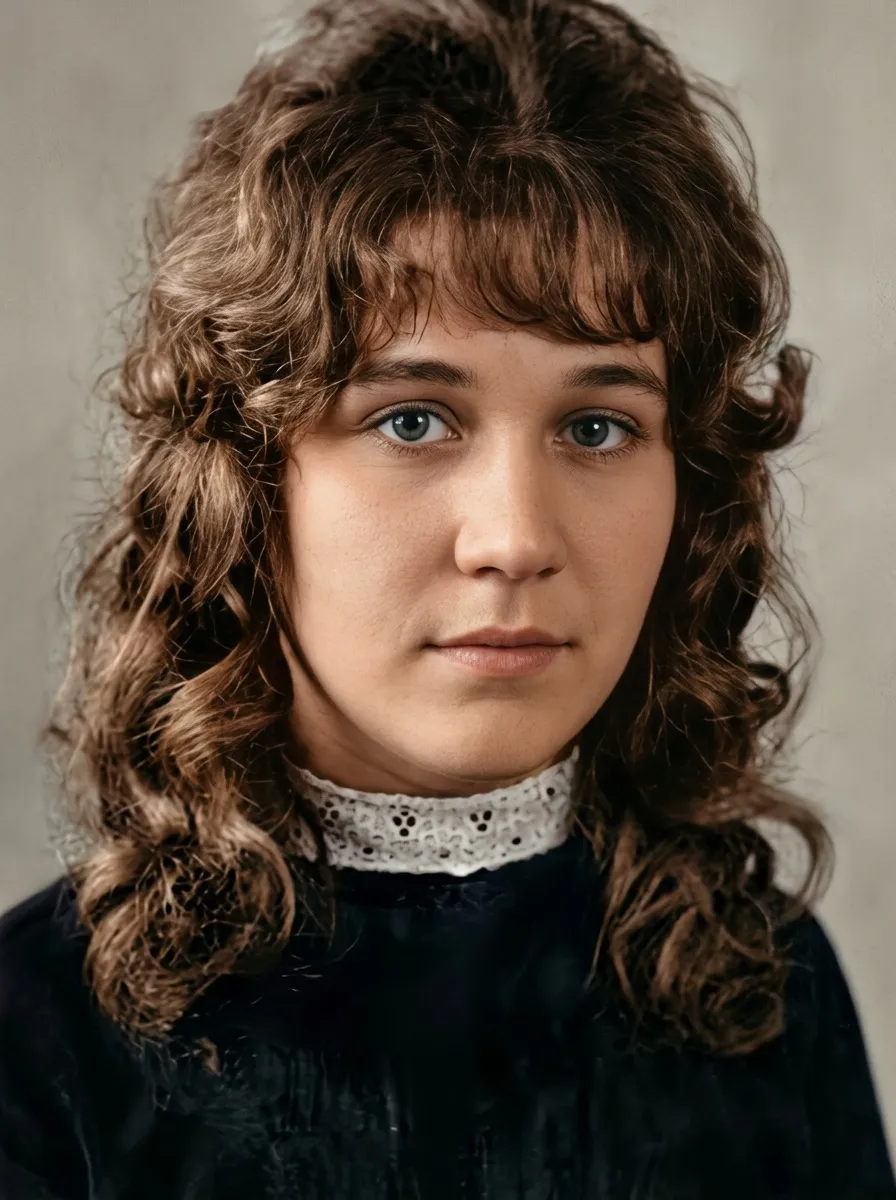
Use Photoshop when you want control over every change, need the full resolution of your scan, or have a photo where one face or detail must be exactly right. Start with a one-pass AI tool when you have many photos, light to moderate damage, or want to see how far automatic repair gets before you spend hours. We make an AI restoration tool, Epoha, so weigh this section accordingly; the Photoshop steps above stand on their own.
The two combine well: run the photo through one pass first, then take only what still bothers you into Photoshop. If the photo will be printed large, work from your full-resolution scan: a 4×6 inch print scanned at 600 dpi is 3,600 pixels on its long side, while Epoha’s result is about 1,400 pixels. During early access Epoha is free, with two successful restorations a day and no account; the planned model is one photo, one price, paid only after you have seen the result.
Photoshop by hand and Epoha, side by side
| Photoshop by hand | Epoha, one pass | |
|---|---|---|
| Hands-on time | Under an hour to a day or more, depending on the damage | Usually about a minute, sometimes up to three |
| Control | Every stroke and every layer | Accept the result, or upload again for a different variant |
| Faces | As faithful as your care and your reference photos | Warns when a face is too damaged or too small; the instructions to the model forbid changing features; you compare the result with the original |
| Black-and-white photos | Keep them gray, or colorize on a layer you can switch off | Always returned in color, inferred by the model; a gray copy takes one adjustment in any editor |
| Size of the result | The full resolution of your scan | About 1,400 pixels on the long side |
| Border and captions | You choose what to crop | Only the photograph comes back; keep your scan for anything written on the border |
Restoring old photos in Photoshop: common questions
Can Photoshop restore old photos?
Yes. Its healing, clone and adjustment tools repair dust, scratches, cracks, tears, fading and color casts, and it can add color to black-and-white photos. The work is manual: under an hour for light damage, a day or more for heavy damage. Its AI tools can shorten it but can also change faces, so check the result against the original.
Does Photoshop have AI photo restoration?
Yes, in three forms. The Photo Restoration and Colorize Neural Filters work on the whole image, and Generative Fill builds new pixels inside a selection. All three infer detail rather than recover it, so use them on separate layers and check faces. In Adobe’s own walkthrough, the remaining damage is still finished by hand.
Why is the Photo Restoration neural filter disabled, grayed out or not showing?
It may not be downloaded yet: open Filter > Neural Filters and download it, which needs an internet connection. A Grayscale-mode scan grays out Colorize, so switch to Image > Mode > RGB Color. If Photoshop says it has temporarily disabled the filter because of an error, Adobe’s community forum has many threads about it and no single confirmed cause; in one, the answer marked correct was to clear the filter’s stored data so Photoshop downloads it again. If it keeps failing, skip it: nothing else in this workflow depends on it.
Can Photoshop Elements restore old photos?
Yes, within limits. Elements has the Spot Healing Brush, Healing Brush, Clone Stamp and Levels, so the steps above carry over, and it has long included a guided edit for old photos that walks through cropping, retouching, dust and scratches and tonal fixes. Recent versions add a Colorize Photo command. Guided edits give less control than working by hand, so cracks across a face or missing pieces still need the manual tools.
How do I restore a faded photo in Photoshop?
Add a Levels adjustment layer and drag the black and white input sliders to the edges of the histogram, then use Curves one channel at a time to remove a color cast. For a quick start, Alt/Option-click Auto in Levels and choose Find Dark & Light Colors with Snap Neutral Midtones. Faded dye can only be rebalanced, not recovered, so heavily faded areas stay flat.
Can Photoshop colorize a black-and-white photo?
Yes. Filter > Neural Filters > Colorize adds color automatically, and you can place color points where you know the true color. The image must be in RGB Color mode. The colors are the model’s inference, not recovered information, so where it matters, check them against family memory or a color photo from the same period.
See how far one pass gets
Upload the scan and compare the result with your original, face by face, before deciding how much hand work the photo still needs.
Free during early access · 2 restorations a day
Used only to restore your photo. How we handle your photo
Sources
- Dye Fade — Image Permanence Institute (filmcare.org)